-
Things To Do
Bucket ListExperiencesOutdoor ActivitiesWildlife Viewing
-
Places To Go
Top DestinationsRegions
-
Where To Stay
Campgrounds & RV ParksClassic StaysNature EscapesUnique Stay
-
Trip Ideas
Choose Your TripStories
-
Plan Your Trip
Trip EssentialsGuides & AppsDeals & Passes
- Upcoming Events
Chasing the Northern Lights in Manitoba: What I've Learned Behind the Camera
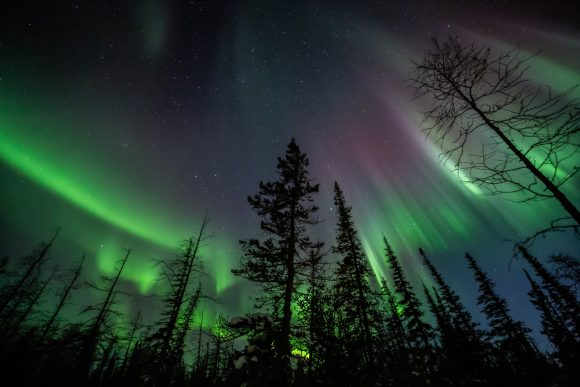
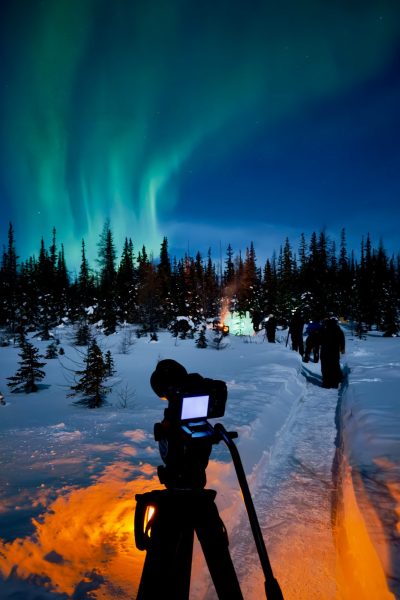
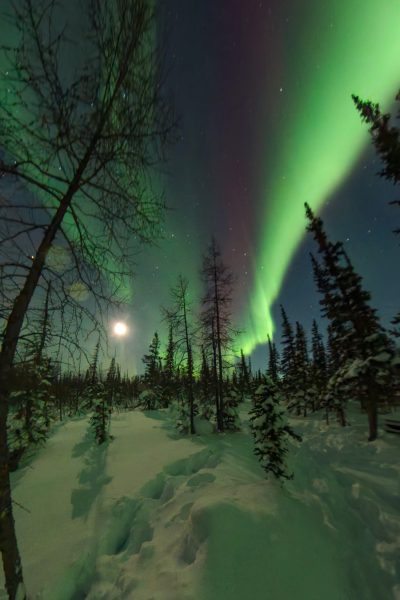
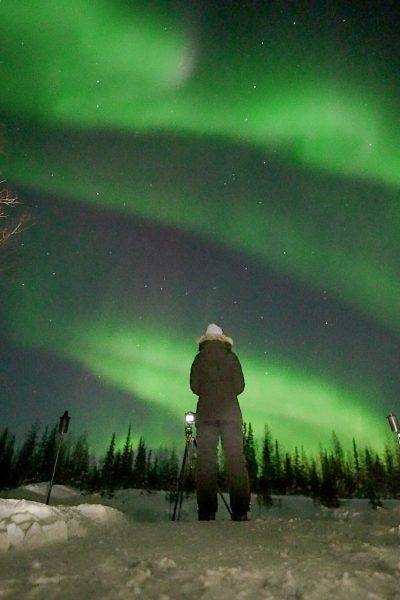
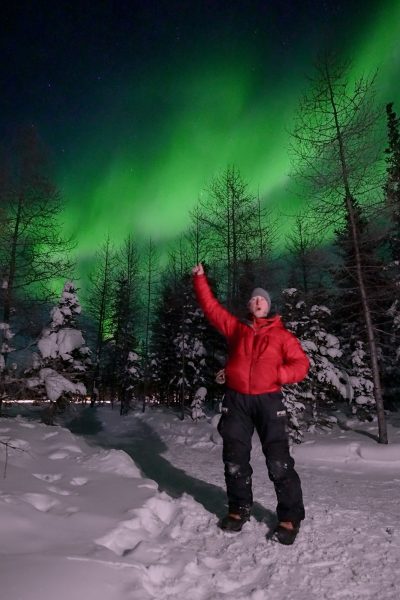
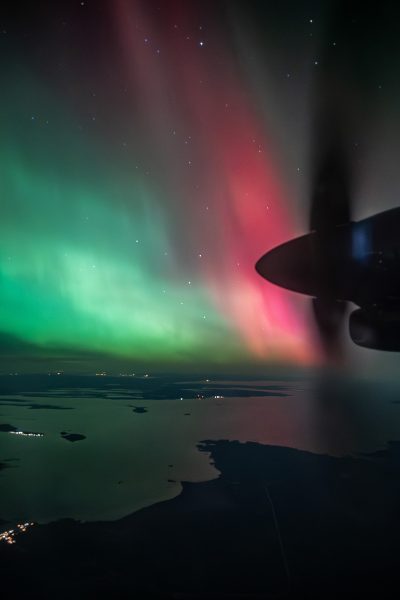
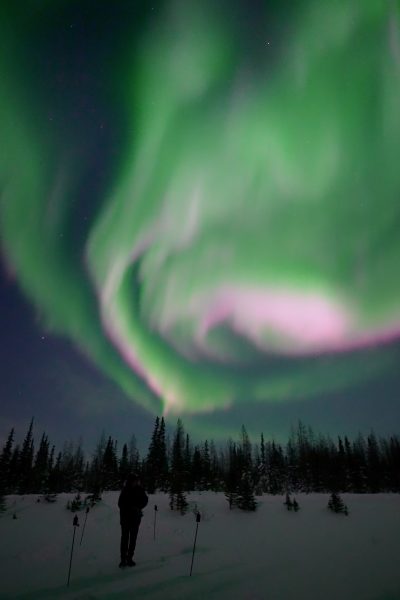
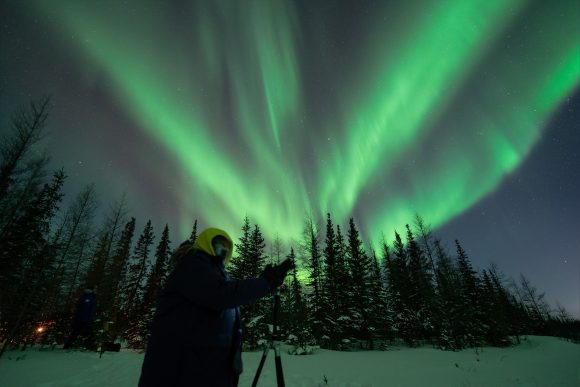
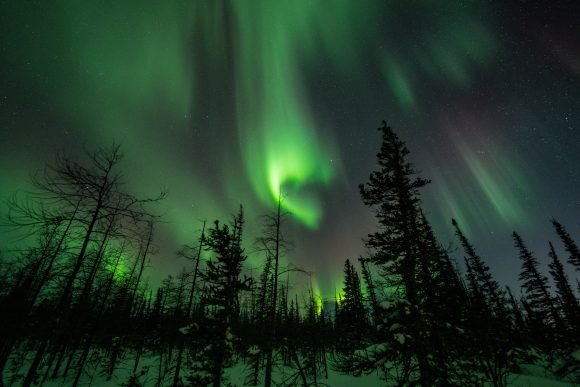
After photographing and filming the northern lights (aurora borealis) more than 100 times, I've realized something: the best aurora borealis photos have very little to do with having the most expensive camera. More often than not, they're captured by the person who's willing to stay outside just a little longer.
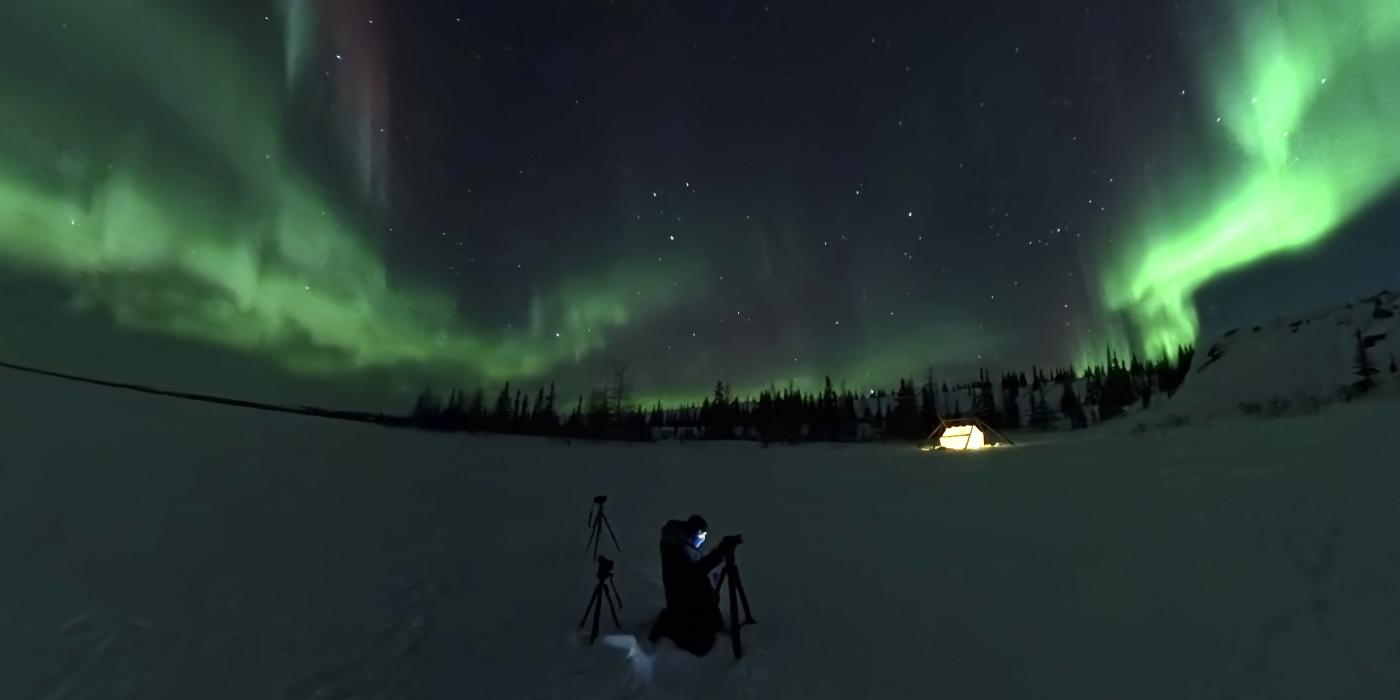
Raymond Friesen
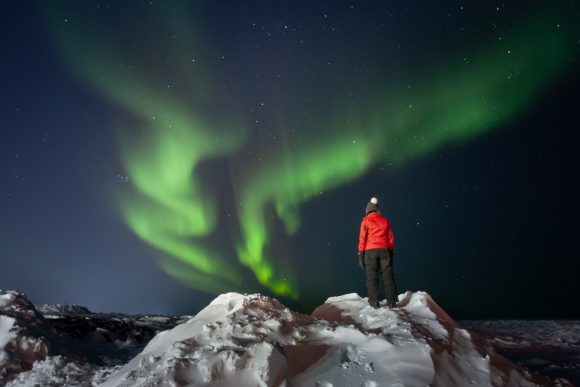
Raymond Friesen
Hudson Bay, Churchill
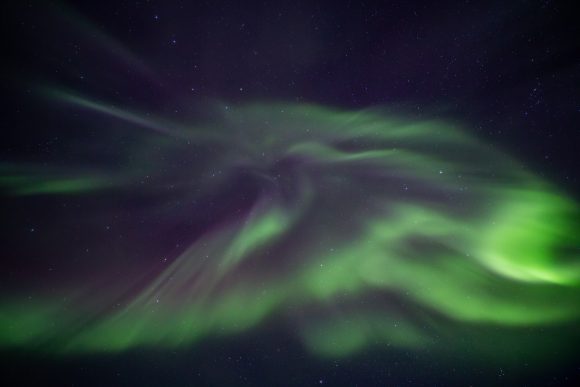
Raymond Friesen
Aurora corona, Churchill
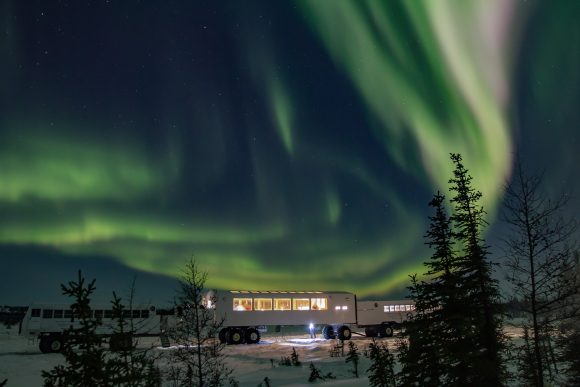
Raymond Friesen
Dan's Diner, Frontiers North Adventures, Churchill
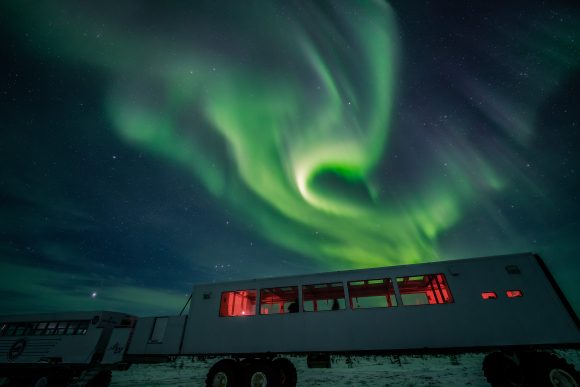
Raymond Friesen
Dan's Diner, Frontiers North Adventures, Churchill
Raymond Friesen
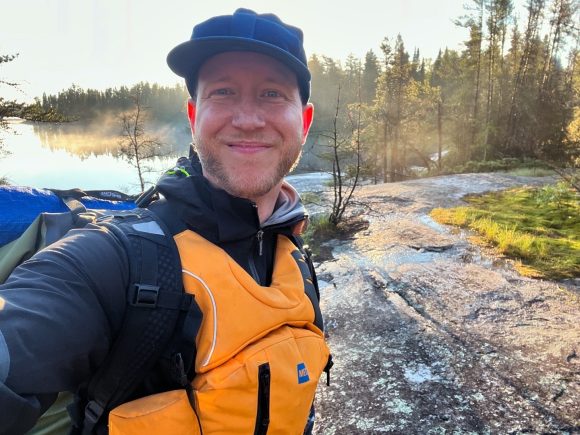
Raymond Friesen, Nopiming Provincial Park
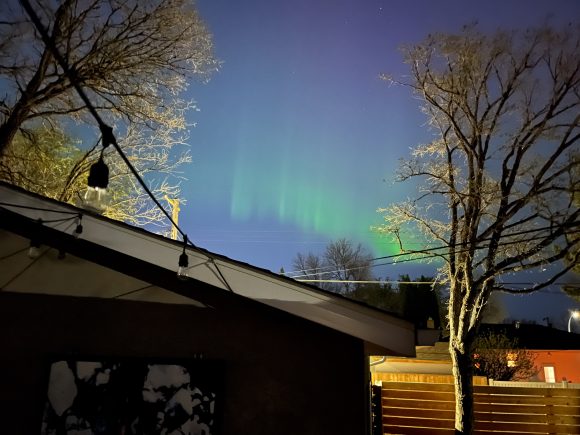
Raymond Friesen
View from Raymond Friesen's backyard, Winnipeg
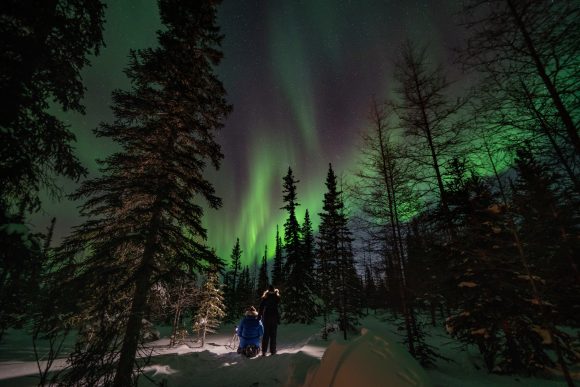
Raymond Friesen
Boreal forest, Churchill
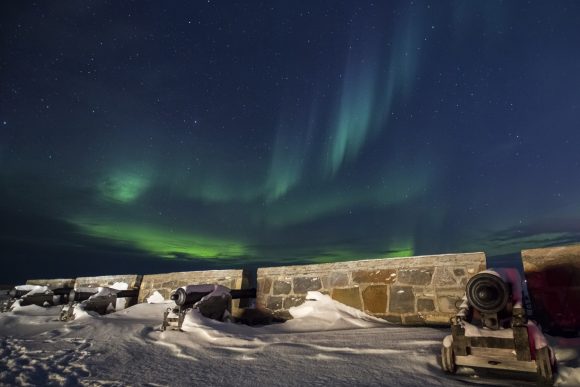
Raymond Friesen
Prince of Wales Fort, Churchill
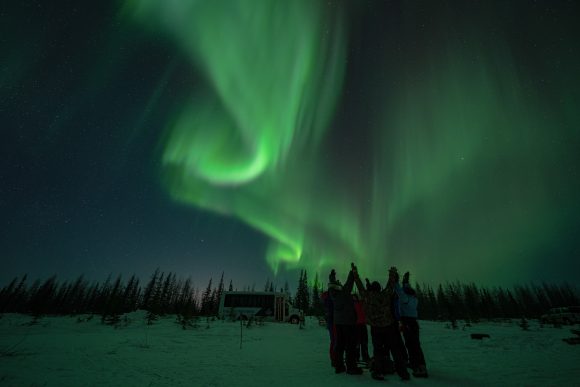
Raymond Friesen
Boreal forest, Churchill
Raymond Friesen
Boreal forest, Churchill
Raymond Friesen
Boreal forest, Churchill
Raymond Friesen
Boreal forest, Churchill
Raymond Friesen
Boreal forest, Churchill
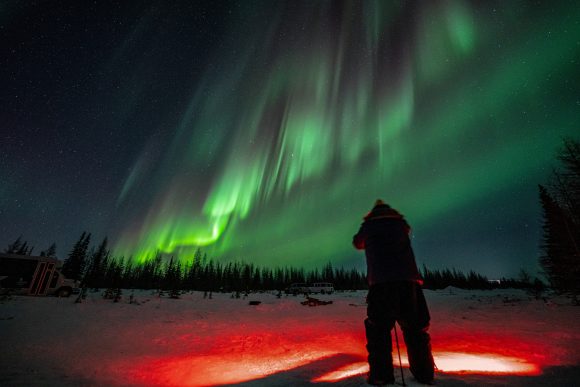
Raymond Friesen
Boreal forest, Churchill
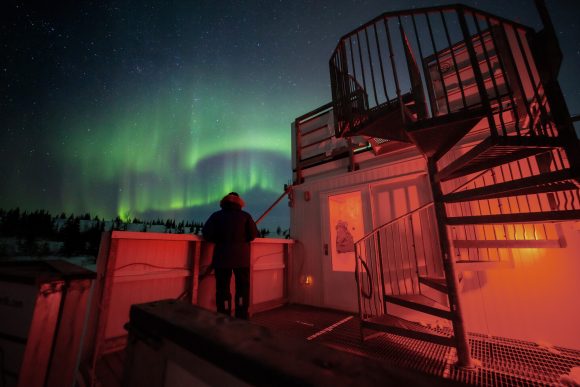
Raymond Friesen
Thanadelthur Lounge, Frontiers North Adventures, Churchill
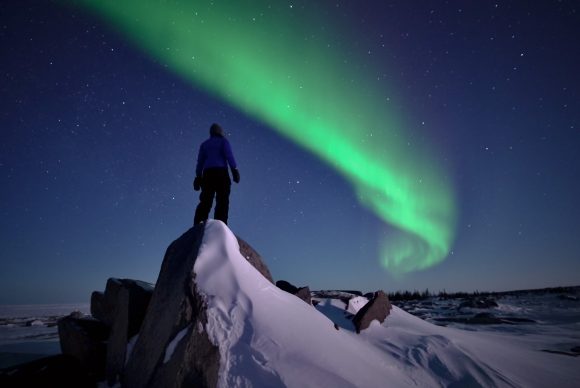
Raymond Friesen
Tundra, Churchill
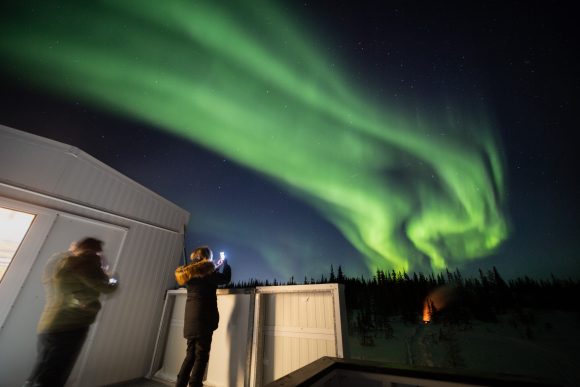
Raymond Friesen
Dan's Diner, Frontiers North Adventures, Churchill
Raymond Friesen
Raymond Friesen, Churchill
Raymond Friesen
Airplane window, Manitoba
Raymond Friesen
Boreal forest, Churchill
Raymond Friesen
Boreal forest, Churchill
Raymond Friesen
Boreal forest, Churchill
You May Also Enjoy
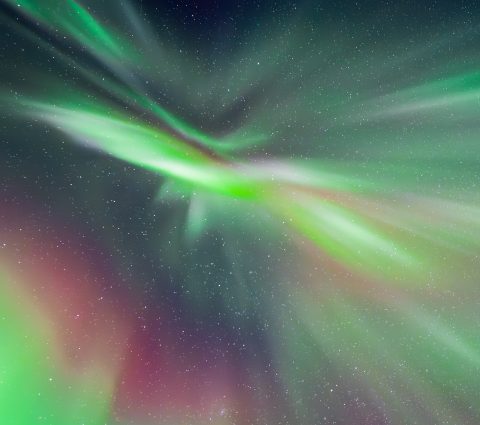
The Northern Lights are Calling: Churchill or Yellowknife?
Churchill offers some of the most reliable northern lights viewing on the planet, logging 300+ nights of auroral activity per year.

Where, When and How to See Northern Lights in Churchill, Manitoba
Few experiences stir the heart quite like watching the northern lights dance across the subarctic sky. As ribbons of green and violet shimmer overhead, time seems to pause. Many visitors describe it as humbling and awe-inspiring — a moment where you feel...
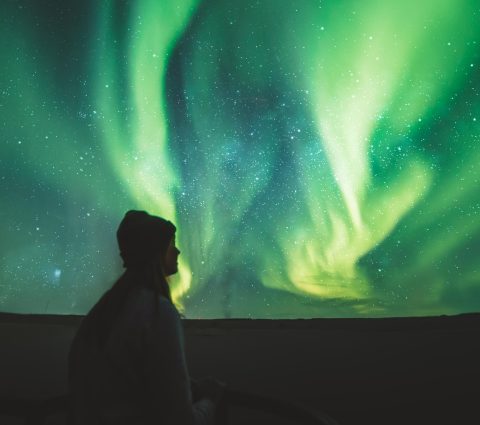
5 Things You Need To Know About Viewing the Northern Lights in Churchill, Manitoba
Would it surprise you to learn that Manitoba is among the best places on Earth to experience one of the world's great natural wonders? Standing alongside The Grand Canyon, the Great Barrier Reef and Mount Everest is the humble aurora borealis. Well, maybe...
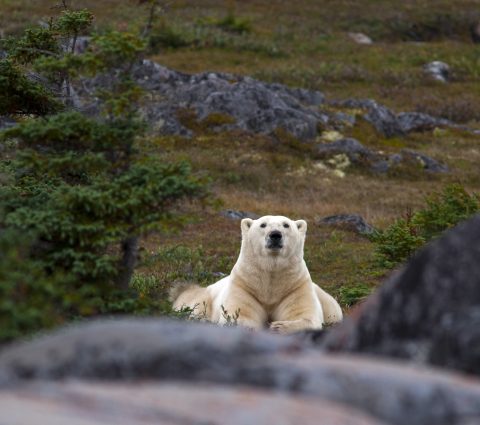
What to Pack For Your Trip to Churchill
Churchill has three distinct seasons – the first thing to do when planning your trip is to figure out what you want to see or do. Whether you'd prefer to bird watch, see polar bears in their natural habitat, witness the dazzling northern lights or kayak...

About The Author
Hiya! I’m Raymond, a filmmaker at Handcraft Creative. I’ve been creating content in cold places for nearly 20 years, from documentaries and commercials to tourism and branded stories. I like working with good people, getting to interesting places and finding the little moments that make a story work. Usually with a camera in hand and head full of ideas.
Director, Handcraft Creative